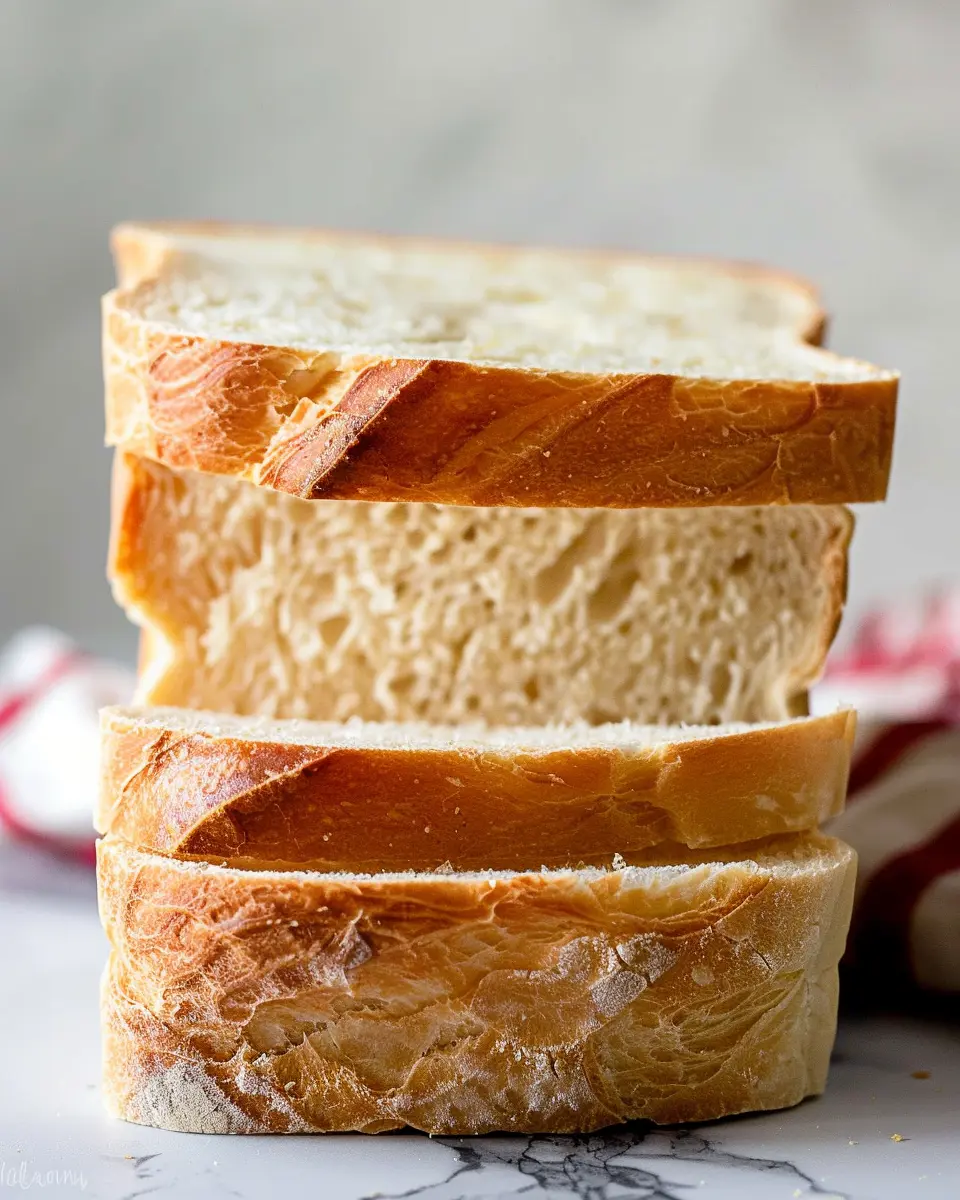
Introduction to Homemade Sandwich Bread
Why make homemade sandwich bread?
Have you ever wondered why so many people are jumping on the homemade bread bandwagon? For starters, making your own sandwich bread is a game-changer. The aroma of fresh bread wafting through your kitchen is simply irresistible. But beyond the delightful smell, there’s the satisfaction of knowing exactly what goes into your food. No preservatives, no additives—just wholesome ingredients that you choose.
Baking bread at home gives you complete control. You can experiment with various flours, whole grains, and seeds to create a loaf tailored to your taste. Plus, nothing beats the feeling of slicing into a loaf you crafted with your own hands!
The benefits of baking your own bread
The perks of homemade bread extend far beyond taste and control. Let’s break it down:
- Healthier Choices: You can include nutritious ingredients like oats or seeds, and avoid unhealthy additives often found in store-bought bread.
- Cost-Effective: Making bread at home can save you money. A loaf of artisan-style bread can run upwards of $5 in stores, but making it yourself can cost less than $2.
- Environmental Impact: Baking your own reduces packaging waste, contributing positively to our planet.
- Therapeutic Experience: Kneading dough can be a great stress-reliever. There’s almost a meditative quality to it, making it a relaxing hobby after a hectic workday.
A personal journey with homemade bread
Let me share a little story— the first time I baked bread, I was guided by a simple recipe I found in a community blog. As I combined the flour, yeast, and water, the process captivated me. I watched in awe as the dough transformed under my hands. After a couple of hours, I pulled a golden-brown loaf from the oven, and it was love at first bite. That loaf, slathered in butter, was unlike anything I had tasted before.
If you’re curious about diving into baking your own sandwich bread, I encourage you to give it a shot! The journey is as rewarding as the end result, and who knows—you might just find your new favorite pastime. For an easy guide to get you started, check out King Arthur Baking’s beginner bread recipe. Happy baking!
Ingredients for Sandwich Bread
Essential ingredients for the perfect loaf
Creating the perfect sandwich bread hinges on selecting a handful of essential ingredients. Here’s what you’ll need:
- All-Purpose Flour: The backbone of your bread, providing structure and texture. You can also experiment with bread flour for a chewier loaf.
- Yeast: Whether you choose active dry or instant yeast, this ingredient is crucial for giving your bread that airy rise.
- Water: Warm water activates the yeast and helps to dissolve the sugar, kicking off the fermentation.
- Sugar: A bit of sugar not only aids in browning but also fuels the yeast, leading to a nice rise.
- Salt: Essential for flavor and controlling the fermentation process, ensuring your bread doesn’t overshoot its rise.
For more insights into these ingredients, check sources like King Arthur Baking for expert tips.
Optional add-ins and enhancements
Looking to elevate your sandwich bread? Consider these delightful add-ins:
- Seeds: Add sesame or poppy seeds for a crunch that enhances texture.
- Nuts: Pecans or walnuts can offer a lovely surprise in your loaf.
- Herbs and Spices: A sprinkle of rosemary or garlic powder can take your bread to the next level.
- Cheese: Incorporating shredded cheese like cheddar can create a deliciously savory twist.
Customizing your bread not only makes it more fun to make, but it also allows you to experiment with flavors that align with your taste preferences. What will you add to your loaf?
Preparing Sandwich Bread
Making your own sandwich bread can be a simple yet rewarding experience. Homemade bread doesn’t just taste better, but it also opens up a world of possibilities for flavor, texture, and health. Let’s dive into the steps to create the perfect loaf of sandwich bread!
Prepare the Dough
Start by gathering your ingredients: flour, yeast, water, sugar, salt, and a bit of oil. The quality of your ingredients matters, so opt for high-quality flour and fresh yeast for the best results.
- Dissolve the yeast: In a large bowl, combine warm water (about 110°F) and sugar, then sprinkle the yeast on top. Allow it to sit for 5-10 minutes until it becomes foamy.
- Mix the dry ingredients: In a separate bowl, whisk together flour and salt. Gradually add the flour mixture to the yeast mixture.
- Incorporate the oil: Stir in a tablespoon of oil for added moisture and flavor.
This step is all about building a strong foundation for your sandwich bread.
Knead the Dough
Once your dough is combined, it’s time to knead. Kneading develops the gluten, giving your bread that delightful chewiness.
- Transfer to a floured surface: Turn the dough out onto a lightly floured surface and begin to knead.
- Knead for about 10 minutes: Push the dough away from you with the heel of your hands, then fold it over, rotate it, and repeat. You’ll know it’s ready when the dough is smooth and elastic.
If you’re using a stand mixer, feel free to let it do the work for you on medium speed for about 5-7 minutes. How convenient is that?
First Rise
Now that your dough is perfectly kneaded, it’s time for its first rise.
- Shape the dough into a ball: Place it in a greased bowl, turning it to coat with oil.
- Cover and let it rise: Use a damp cloth or plastic wrap to cover the bowl. Allow it to rise in a warm place until it has doubled in size—usually about 1-2 hours. This is one of those moments where patience pays off!
Shape the Bread
Once your dough has risen beautifully, it’s time to shape it into a loaf.
- Punch down the dough: This helps to release any air bubbles formed during the rise.
- Shape into a loaf: Flatten the dough slightly and fold it into a rectangle. Roll it tightly to create tension on the outside of the loaf. Place it seam-side down in a greased loaf pan.
This shaping step is crucial for achieving that classic sugary-crusted top we all love on our sandwich bread.
Second Rise
Let’s give that dough another chance to rise.
- Cover with a cloth: Just like the first time, cover the loaf and let it rise again for about 30-60 minutes or until it rises about an inch above the rim of the pan.
This is where the magic really happens; your dough should look fluffy and puffy, ready for the oven.
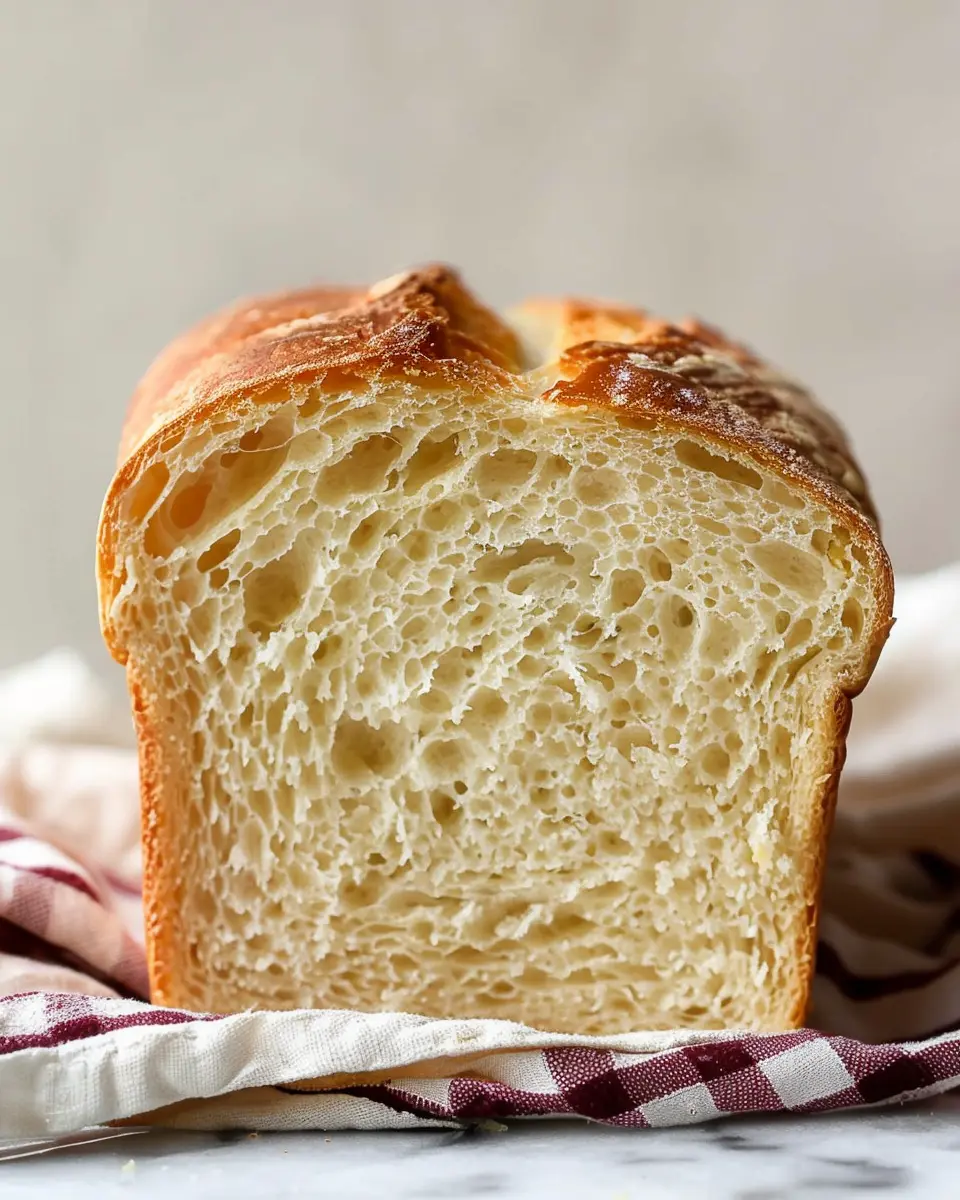
Bake the Bread
Now that your dough has completed its second rise, it’s showtime!
- Preheat the oven: Preheat your oven to 350°F.
- Bake for 30-35 minutes: Bake your loaf until it’s golden brown and sounds hollow when tapped. The aroma wafting through your kitchen will be heavenly!
Let it cool completely on a wire rack before slicing. Trust me; there’s nothing quite like the first bite of freshly baked sandwich bread.
And there you have it—a step-by-step guide to making your own sandwich bread. Enjoy it fresh, or use it for turkey bacon and chicken ham sandwiches. The options are endless! For more tips on bread-making, check out King Arthur Baking for expert advice. Happy baking!
Variations on Sandwich Bread
When it comes to sandwich bread, don’t limit yourself to the classic white loaf. There’s a world of flavor waiting to be explored! Here are some enticing variations to elevate your lunchtime creations.
Whole Wheat Sandwich Bread
Whole wheat sandwich bread is a nutritious alternative that packs in fiber and nutrients without sacrificing taste. Using whole wheat flour adds a hearty texture and a nutty flavor to your sandwiches. It’s also a great way to sneak in some whole grains into your diet. You can even opt for a mix of whole wheat and all-purpose flour to lighten the texture while still enjoying the health benefits. Not sure where to start? Check out this whole wheat bread recipe.
Herb-Infused Sandwich Bread
Imagine biting into a sandwich with fragrant notes of rosemary and thyme wafting through! Herb-infused sandwich bread is perfect for those who love a touch of zest in their meals. Incorporating fresh or dried herbs directly into the dough can transform your everyday sandwiches into a gourmet experience. Try adding fresh basil or dill—both complement various fillings beautifully. And don’t underestimate the power of a simple garlic infusion!
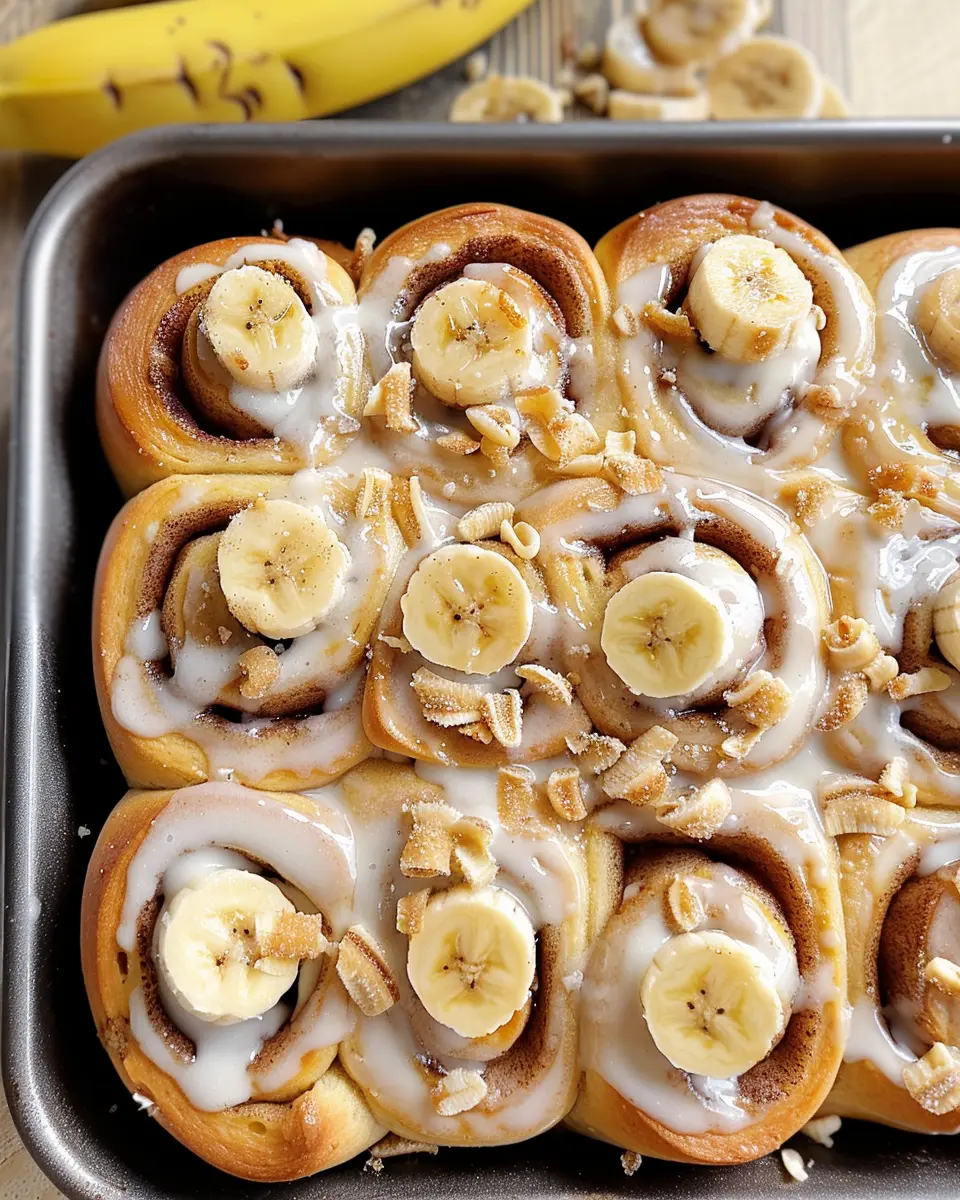
Sweet Sandwich Bread
If you’re craving something a bit sweeter, why not try a sweet sandwich bread? Options like cinnamon bread or honey-infused varieties can turn a basic sandwich into a delightful treat. Great for breakfast or dessert, this type of bread can pair perfectly with cream cheese and fresh fruit. For an indulgent twist, consider adding a bit of chocolate chips to your recipe; it’s a simple way to make your sandwiches feel special.
With these variations, you can truly customize your sandwich bread to suit any occasion, turning each bite into a delicious experience. Happy baking!
Cooking Tips and Notes for Sandwich Bread
Common pitfalls to avoid
Making the perfect sandwich bread can be a delightful experience, but it’s easy to run into some common pitfalls. Here are a few to keep in mind:
- Over-kneading: While kneading develops gluten, do be careful not to overdo it. Your dough should spring back and feel smooth but not tough.
- Incorrect measurements: Baking is a science! A kitchen scale can help ensure accurate ingredient ratios, particularly for flour and water.
- Proofing temperatures: Yeast loves warmth! If your kitchen is too cold, your dough may take longer to rise. A warm, draft-free spot works wonders.
Storing your bread for freshness
To enjoy your sandwich bread at its best, storing it properly is key. Here are some simple tips:
- Room temperature: Store in a bread box or an airtight container to keep moisture locked in.
- Freezing for later: If you’ve made more than you can eat, slice and freeze it! Just wrap it tightly in plastic wrap and then in foil to prevent freezer burn.
For more tips on bread care, check out King Arthur Baking for expert advice. Happy baking!

Serving Suggestions for Sandwich Bread
Perfect pairings for your homemade bread
Now that you’ve perfected your homemade sandwich bread, it’s time to explore some delightful pairings! A simple spread of butter or olive oil can enhance the rich, warm flavors of fresh bread. For something more adventurous, try topping with creamy avocado and a sprinkle of sea salt. This not only boosts taste but also adds a healthy twist.
Consider pairing your bread with a refreshing side. A crisp salad, like a classic Caesar or a Mediterranean mix, elevates your meal while keeping it light. Alternatively, why not whip up a bowl of hearty tomato basil soup? Together, they create a comforting combo that warms both the heart and the soul.
Creative sandwich ideas for lunch
When it comes to sandwich fillings, the sky’s the limit! How about a turkey bacon and avocado delight layered with peppery arugula? Or, a succulent chicken ham sandwich dressed with zesty mustard and sharp cheddar? Don’t forget to incorporate veggies—fresh tomatoes, crispy lettuce, or thinly sliced cucumbers can add great texture and flavor.
For those seeking a vegetarian option, consider a roasted vegetable and hummus sandwich, which is sure to impress! With these ideas, your sandwich bread can turn into a culinary canvas, making lunchtime not just another meal, but an exciting dining experience.
Remember to experiment with toppings and sauces to create your unique masterpiece! For more inspiration, check out this guide on creative sandwich ideas to keep your lunches fresh and fun.
Time Breakdown for Making Sandwich Bread
When you’re ready to tackle your homemade sandwich bread, it helps to know how much time you’ll need for each step. Here’s a quick breakdown:
Preparation Time
Expect to spend about 15 minutes gathering your ingredients and mixing them together. This is your chance to get creative with flavors!
Rising Time
Patience is key. Allow the dough to rise for approximately 1 to 1.5 hours until it doubles in size. This step is crucial for that perfect texture, so don’t rush it!
Baking Time
Bake your sandwich bread for about 30 minutes. The delightful aroma will fill your kitchen, tempting you to sneak a slice!
Total Time
In total, you’re looking at about 2 to 2.5 hours from start to finish. It sounds like a commitment, but the taste of homemade bread truly makes it worthwhile!
For more baking tips and techniques, consider checking out resources like King Arthur Baking or The Kitchn for inspiration.
Nutritional Facts of Sandwich Bread
Calories per Slice
When enjoying a slice of sandwich bread, it’s helpful to know you’re looking at approximately 70-100 calories. This can vary based on the ingredients and portions used, so keeping an eye on the specifics of your recipe or package can help you track your overall intake.
Key Nutrients in Homemade Bread
Homemade sandwich bread often packs in valuable nutrients that store-bought varieties sometimes lack. Here are a few key nutrients you can expect:
- Protein: Vital for muscle repair and growth.
- Fiber: Helps maintain digestive health.
- B vitamins: Supports energy metabolism.
By using whole grain flour, you enhance the nutritional profile, providing more benefits compared to white bread.
Comparing Homemade to Store-Bought
While store-bought sandwich bread can be convenient, it often contains preservatives and additives. Making bread at home allows you to control the ingredients. A study from the Whole Grains Council highlights that homemade bread can have significantly less sodium and no added sugars. Plus, making your bread can be a rewarding experience—there’s something special about pulling a freshly baked loaf from the oven!
For those interested in diving deeper into the nutritional aspects of bread-making, check out the USDA’s comprehensive food database for further insights. You’ll be amazed at how simple ingredients can create a satisfying, healthful meal!
FAQs about Sandwich Bread
Why is my bread too dense?
A common frustration when making sandwich bread is ending up with a loaf that’s overly dense. Several factors can contribute to this. First, ensure you’re using fresh yeast. Expired yeast may not produce enough rise, resulting in a heavy loaf. Secondly, the dough may not have been kneaded or allowed to rise properly. Kneading helps develop gluten, which contributes to the light texture of bread. Aim for a soft, elastic dough before rising. Additionally, be mindful of your flour measurement; using too much flour can lead to density. For accurate measurements, consider using a kitchen scale to weigh your ingredients.
Can I freeze homemade bread?
Absolutely! Freezing sandwich bread is a fantastic way to preserve your creation for later enjoyment. After your bread has cooled completely, wrap it tightly in plastic wrap and then place it in a freezer bag. It can last for about three months. When you’re ready to use it, simply remove the desired slices and let them thaw at room temperature. For an added touch, you can toast them straight from the freezer.
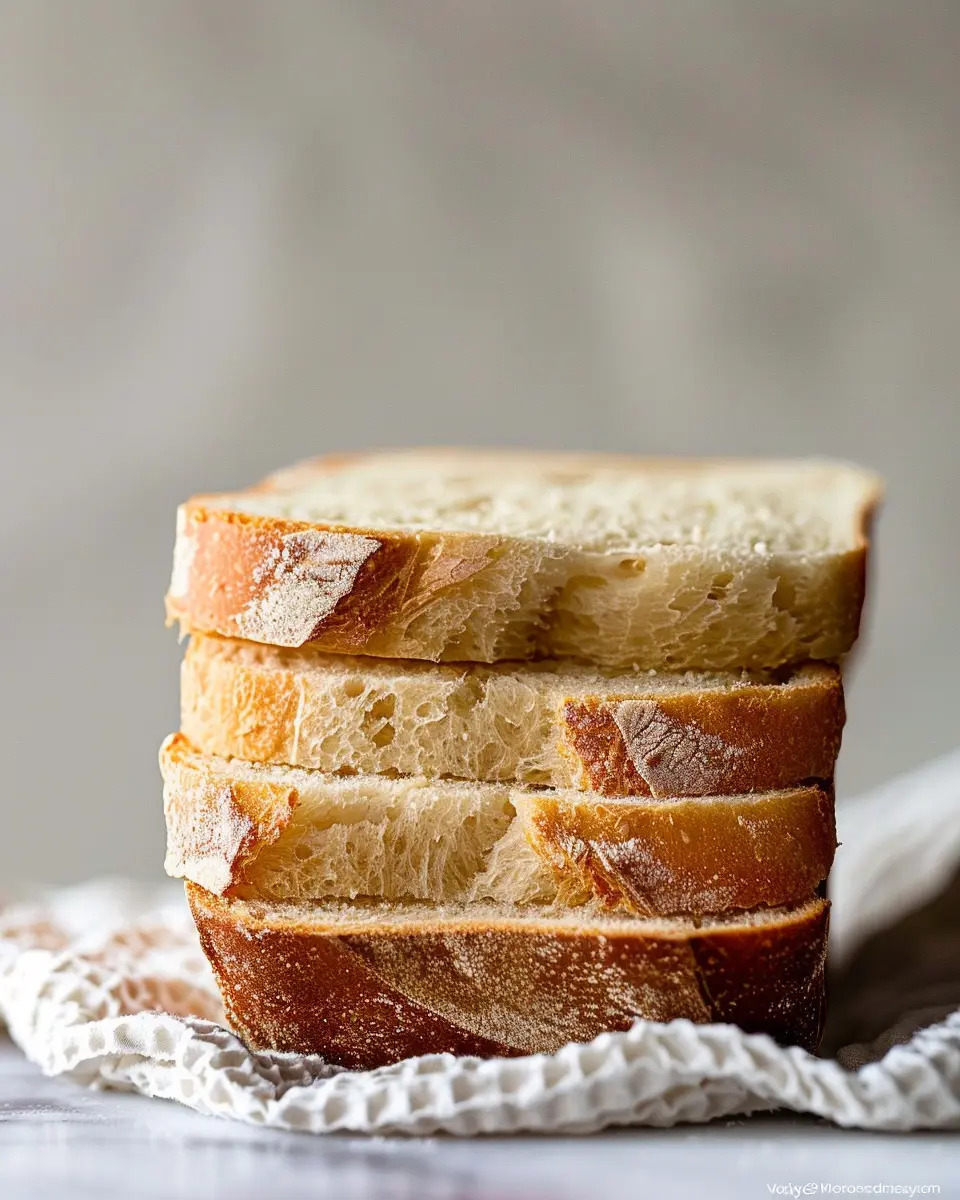
What is the best way to slice homemade bread?
Slicing your sandwich bread correctly is crucial for achieving those perfect sandwiches. Use a sharp serrated knife for easy cutting, as it won’t squish your loaf. Allow the bread to cool completely before slicing; this helps maintain its structure. If you’re prepping ahead, consider pre-slicing and storing your bread in a resealable bag, which makes it easy to grab a slice whenever you need it.
For more on bread fundamentals, check out this comprehensive guide from the Bread Bakers Guild of America. Making your own sandwich bread is a rewarding journey, and with these tips, you’ll be well-equipped to tackle any challenges!
Conclusion on Homemade Sandwich Bread
The satisfaction of homemade baking
Baking homemade sandwich bread is not just a culinary task; it’s a rewarding experience that fills your kitchen with delicious aromas and creates a sense of accomplishment. When you slice into that fresh loaf, the difference between store-bought and homemade is evident. The texture is unmatched, and you can enjoy knowing exactly what ingredients went into your bread—pure, wholesome goodness.
Encouragement to try baking today
Why not give it a shot yourself? Baking your own sandwich bread is simpler than you might think, and the results can be truly gratifying. Gather your ingredients, roll up your sleeves, and dive into the process. Whether you enjoy turkey bacon, chicken ham, or a garden-fresh veggie spread, your homemade bread will elevate every bite. Start your baking journey today, and discover the joy of creating something delicious from scratch! For additional tips and expert insights, consider checking out resources like King Arthur Baking.
PrintSandwich Bread: The Best Homemade Recipe for Turkey Bacon Bliss

A delightful homemade sandwich bread recipe that enhances your turkey bacon experience.
- Prep Time: 15 minutes
- Cook Time: 35 minutes
- Total Time: 1 hour 50 minutes
- Yield: 1 loaf
- Category: Bread
- Method: Baking
- Cuisine: American
- Diet: Vegetarian
Ingredients
- 4 cups all-purpose flour
- 2 teaspoons salt
- 1 tablespoon sugar
- 2 teaspoons instant yeast
- 1 ½ cups warm water
- 2 tablespoons olive oil
Instructions
- In a large bowl, mix flour, salt, sugar, and yeast.
- Add warm water and olive oil, then stir until combined.
- Knead the dough for about 10 minutes until smooth.
- Place in a greased bowl, cover, and let rise for 1 hour.
- Preheat the oven to 375°F (190°C).
- Punch down the dough and shape it into a loaf.
- Place in a greased loaf pan and let rise for another 30 minutes.
- Bake for 30-35 minutes or until golden brown.
- Cool before slicing.
Notes
- For a richer flavor, add herbs or spices to the dough.
- Ensure water is warm, not hot, to activate the yeast.
Nutrition
- Serving Size: 1 slice
- Calories: 120
- Sugar: 1g
- Sodium: 200mg
- Fat: 2g
- Saturated Fat: 0.5g
- Unsaturated Fat: 1g
- Trans Fat: 0g
- Carbohydrates: 24g
- Fiber: 1g
- Protein: 4g
- Cholesterol: 0mg